DFT Instruments supply a variety of PosiTector 6000 accessories that will help you get the most from your PosiTector 6000 Coating Thickness Gauge by DeFelsko.
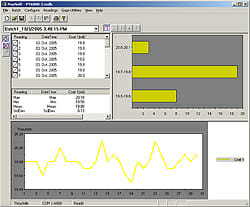
PosiSoft for Windows analysis software available for Standard (2) models, included with all Memory (3) models.
- Allows entry of notes and annotations
- Prints and displays basic charts and histograms
- Exports to a document or spreadsheet
- Includes USB cable
- Free updates
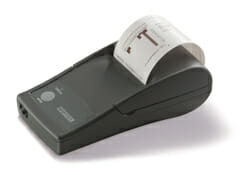
IR Printerreceives data from Standard (2) and Memory (3) models via wireless infrared.
- Wireless, battery-operated.
- Receives data via an invisible infrared beam.
- Prints both text and graphics
- Light weight
- One year Warranty
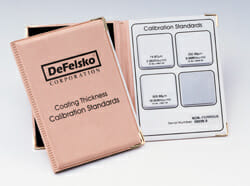
Certified Thickness Standards are ideal for checking calibration and operation of coating thickness gauges and are an important component in fulfilling both ISO and in-house quality control requirements.
All standards are supplied with a certificate of calibration showing traceability to NIST/NPL.
More Information
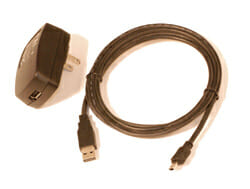
AC Power Cable for continuous operation.
As an alternative to using your PC’s built-in USB port as a power source for your PosiTector 6000. This adaptor provides continuous power to your PosiTector 6000 using any AC wall electrical outlet using the supplied USB cable. Simply plug one end of the USB cable into the power adapter and the other into the PosiTector 6000’s built in communications port.
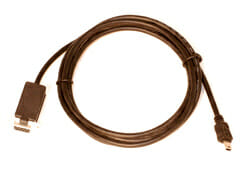
Serial Output Cable
The PosiTector 6000 (memory-3 models only) transmits readings as they are taken through its built-in communications port.
Using the Serial Output Cable, readings can be captured as they are sent from the Gage to a PC’s serial port or data collector.
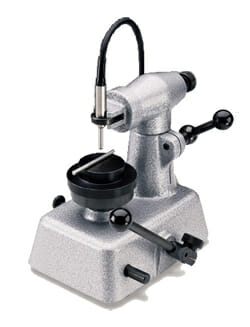
Probe Fixture Stand ensures repeatable positioning.
DeFelsko probes are incredibly accurate, especially the microprobe series. But fine, precise measurements on small parts are often affected by the operator. Our probe fixture removes adverse operator influence by fixturing both the probe and the part. This high quality device is a must in any calibration lab.
Intended primarily for the straight (0 degree) ferrous or non-ferrous microprobes, this stand can also be used with our conventional regular probes. It ensures that the part is brought up to the probe perpendicular to the part’s surface in a controlled, repeatable way.
